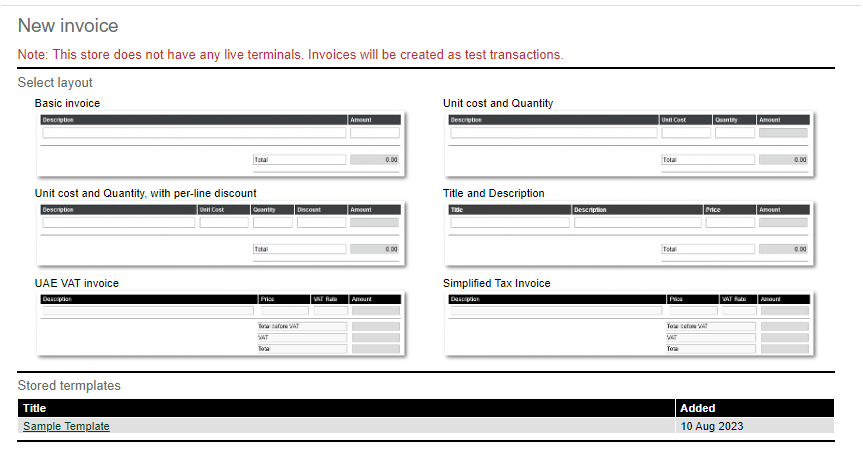
To generate an invoice, you must first select which invoice layout you want to use. At this time there are six layouts.
- Layout 1: Basic invoice with a simple item and cost entry for each line.
- Layout 2: Unit cost and quantity can be specified for each item.
- Layout 3: Unit cost, quantity and a discount can be specified for each item.
- Layout 4: Title and description.
- Layout 5: UAE VAT invoice.
- Layout 6: Simplified Tax Invoice.
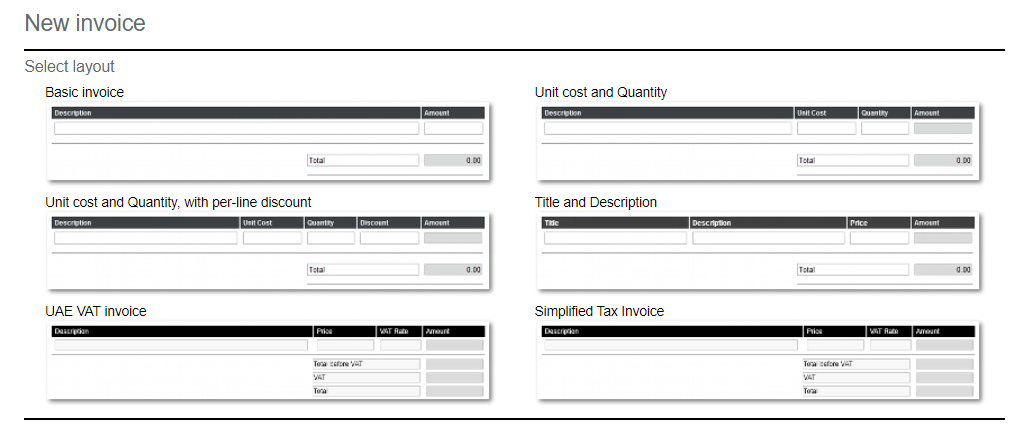
Once a layout has been selected, you will be taken to the data entry page. The following examples are all based on the ‘Basic Invoice’ layout but the operation of the page is the same in each case.

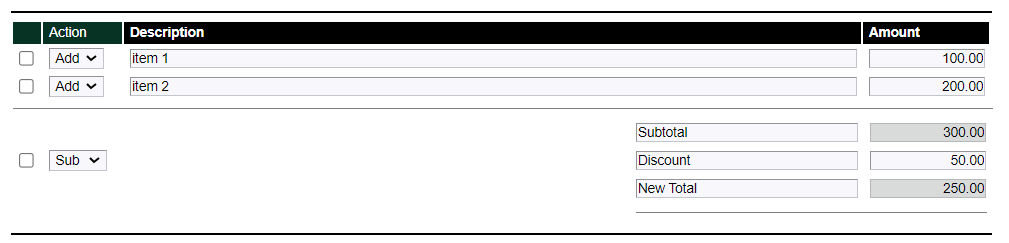
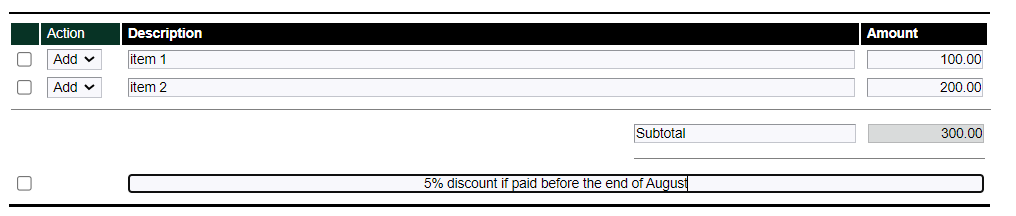
To add additional products to the invoice, click on the ‘Add Product Line’ button. A new line will appear below the existing product entries and you can then enter the required details.

Additional entries in the totals section are can be added by clicking on the ‘Add Total Line’ button.
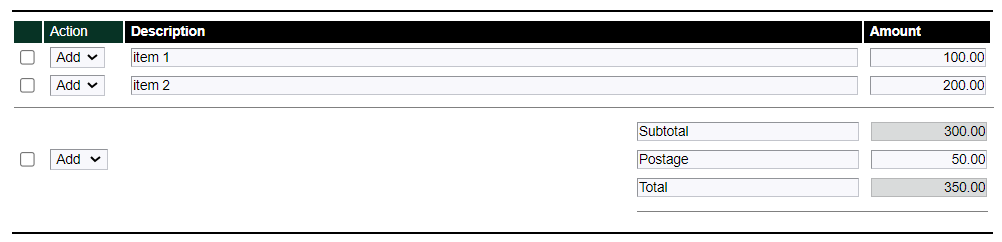
NOTE: Boxes that have a grey background are automatically calculated by the invoice editor. For example, the invoice total is updated as each product is added.
At the start of each line is a selection box which controls if the value of that line is to be added to or subtracted from the current invoice total. In the totals section, you can also choose to specify a new total that replaces the current invoice total.
To remove a line from the invoice, tick the box at the start of the line a click the ‘Delete selected lines’ button.
Note lines are optional items that can be added to the end of the invoice. They have no effect on the value of the invoice, and can be used to add promotional or other messages if required.
Early/Late payment options
Once you have completed the invoice details, you can also set early or late payment amounts if required. For example, you may give a discount if the invoice is paid before a certain date, or apply a penalty fee if the invoice is paid after a certain date.
To do this you must enter the amount and date into the alternate payment amounts section. You should also place a note on the invoice advising the customer of this. The invoice system will not automatically add any details relating to the early or late payment options to the invoice, you must detail those using the notes section.
Sending the invoice
When you click on the ‘Send’ button, a new section will appear that allows you to enter the customers’ details. The minimum information required is the email address, but the more information you are able to provide the better.
The information supplied will be displayed within the invoice email, and will also be used to pre- populate the payment form making it quicker and easier for the customer to complete the payment process.
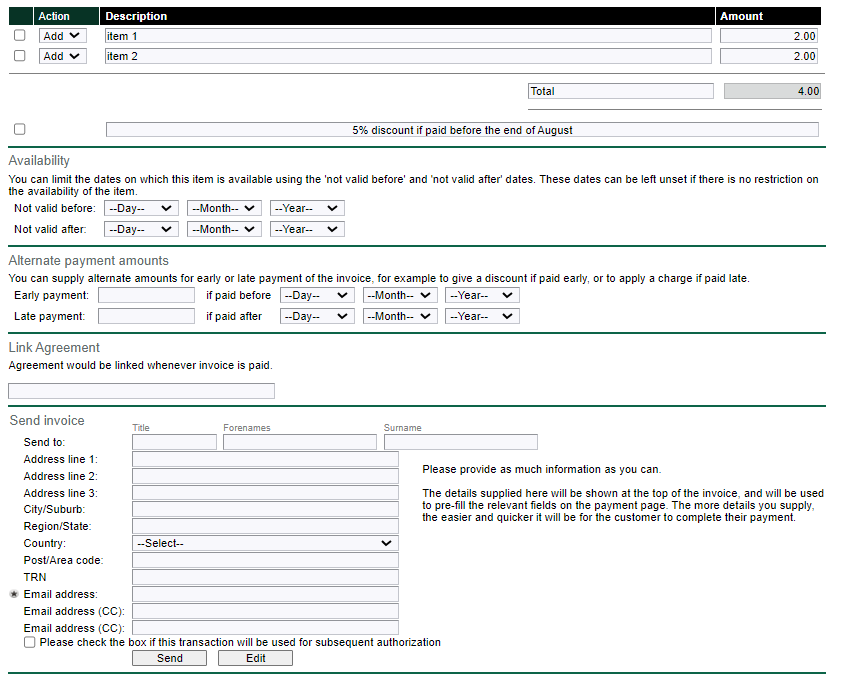
Clicking the ‘Send’ button again will then cause the invoice email to be generated. If you need to alter any details on the invoice before sending then click the ‘Edit’ button.
Invoice templates
If you have a common invoice that is sent out often, you can build a template that will make this process simpler. The initial steps are the same as for generating a new invoice, except instead of clicking the ‘Send’ button you should instead click ‘Save’.
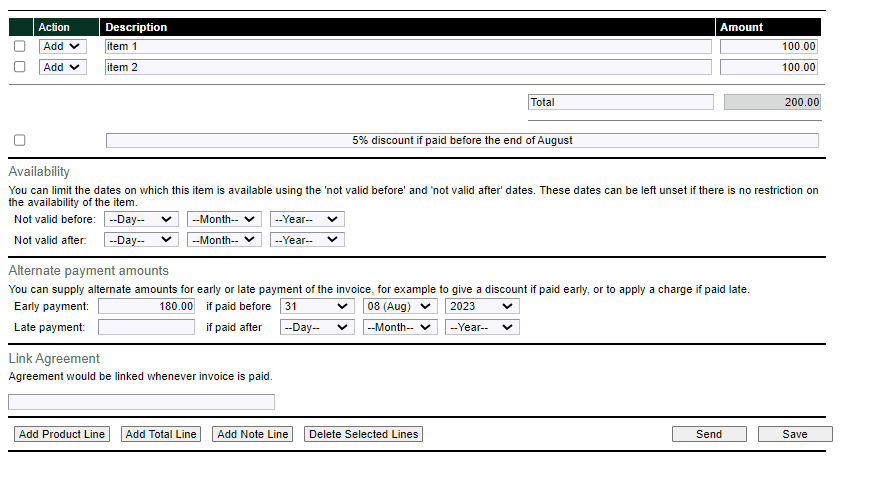
The saved invoice template can then be used directly from the new invoice page.