
Files Overview:
- Index.html - Responsible for storing credentials and posting transaction data. This file serves as the interface where merchant credentials and transaction details are collected before being sent to the payment gateway.
- process.php - This file handles the relay of transaction data to Telr servers. It processes the transaction and manages communication between the merchant's site and Telr, ensuring that the transaction data is securely transmitted. After processing, it redirects the user back to the merchant's website.
- cancel.php - Manages the redirection of the user back to the merchant's website when a transaction is canceled. It ensures that the merchant is informed of the cancellation status.
- decline.php
Responsible for redirecting the user back to the merchant's website when a transaction is declined. It captures and communicates the decline status, allowing the merchant to handle the failed transaction appropriately. - auth.php
Handles the redirection back to the merchant's website after a successful transaction.
Step 1: Setting Up the Merchant Checkout Page
- File: Index.html
The index.html file can serve as the merchant's checkout page where they load the Telr JSSDK using an iframe. The iframe is embedded using the following code:
Example:
<div class="col-md-12">
    <!-- Placeholder for rendering card input fields -->
    <div id="telr_frame"></div>
</div>
The merchant needs to pass the store credentials and transaction-related data through a form tag, as shown below:
<form id="transaction_form" class="form-horizontal" method="POST" action="process.php">
</form>
Additionally, the merchant needs to input their store credentials in the following script present in the index.html file:
var telr_params = {
store_id: STORE_ID, // Replace STORE_ID with your actual store ID
currency: "AED", // Currency code
test_mode: 1, // 1 for testing mode, 0 for live mode
appearance: {
labels: 1,
logos: 1,
borders: 1,
dropdowns: 1
},
callback: onTokenReceive // Callback function for token handling
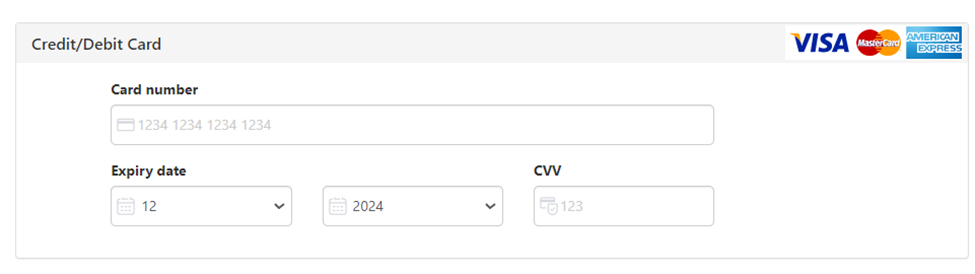
};Once the HTML is loaded with these details, the merchant will see the card input section displayed on their checkout page. This will enable customers to input their card details for payment processing.
Step 2: Posting the Transaction to Telr Servers
Once the checkout page is set up, the next step involves posting the transaction data to Telr’s servers.
The index.html file should ensure that the process.php file is used as the form action, which will relay the transaction data to Telr’s servers.
<form id="transaction_form" class="form-horizontal" method="POST" action="process.php">
</form>
To switch between the Sandbox (test) environment and the LIVE environment, modify the test parameter in the process.php file.
'ivp_test' => 1 // Set to '1' for Sandbox mode, '0' for LIVE modeAfter the transaction is processed, you can configure the process.php file to redirect users back to the merchant's website based on the transaction outcome.
For successful transactions:
$returnAuth = get_current_file_url("https://") . "/auth.php";For canceled transactions:
$returnCan = get_current_file_url("https://") . "/cancel.php";For declined transactions:
$returnDecl = get_current_file_url("https://") . "/decline.php";This ensures that customers are redirected to the appropriate page on the merchant's site based on the status of the transaction, providing a seamless user experience.