
The Telr WooCommerce Extension allows merchants who use the WooCommerce system to take payments via the Telr Hosted Payment Pages. No card details are captured by or stored within the WooCommerce system, so there are no PCI requirements for the store.
When the customer reached the payment stage of the WooCommerce checkout, they will be presented with the option to pay using credit or debit card via Telr. This will take them to the Telr secure server to enter their card details. The result of the purchase attempt (authorised or otherwise) is sent back to the WooCommerce system to update the order details. The customer is also returned to the store.
Version Requirements
This has been tested using WooCommerce version v8
You should ensure you have the latest available versions of WooCommerce and WordPress.
Your systems must be using PHP 5.5 or above, and you must have the cURL PHP module installed and enabled.
Download
https://github.com/orgs/Telr-PG/repositories
Installation
You must take a back-up of your system before installing the extension.
The contents of the zip file should be copied into the plugins directory of your WordPress installation. This is generally wp-content/plugins/
You now need to login to your WordPress admin system in order to complete the installation.
Configuring WooCommerce
Activating the module
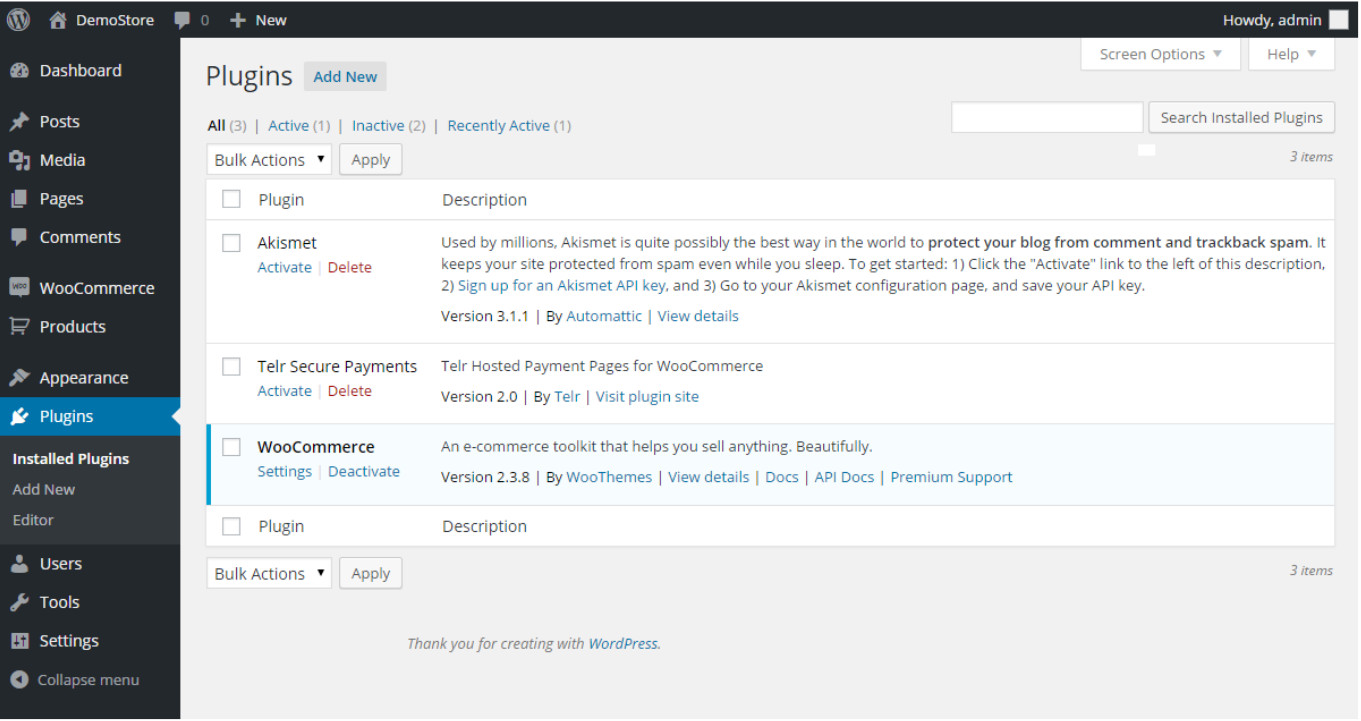
Log in to the WordPress administration system, from the side menu select the Plugins option.
This will show a list of all the plugins for your WordPress installation. Locate the line for Telr and click on the Activate link.
Configuring the module
From the WooCommerce option in the WordPress side menu, click on the Settings option. In the settings display, select the Payment Gateways tab.

Click on the Telr link in the list of payment gateways at the top of the page. This will take you to the configuration settings for the integration. You then need to edit the settings for the payment method. Your Telr Store ID is displayed in the top right of the Telr Merchant Administration System. The authentication key can be found in Telr Merchant Administration System in Hosted Payment Page configuration page, under the Integrations menu.
Payment page customisation
You can customize the payment page by using a CSS file. The core page display is based on the BootStrap 3 responsive layout. Before making any CSS changes, ensure that you are familiar with the underlying styles used within Bootstrap. For more details, please refer to the Hosted Payment Page integration guide.
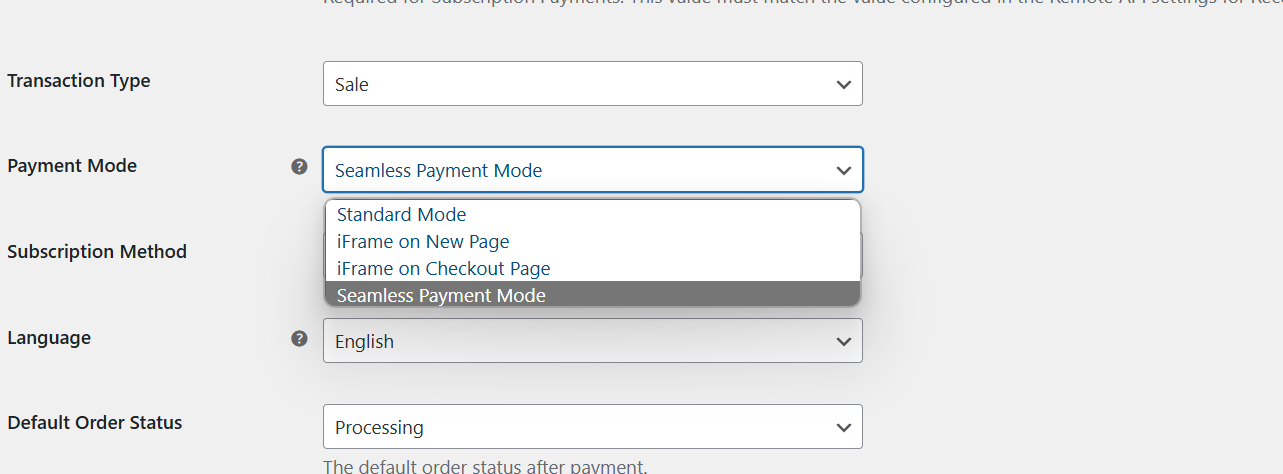
Seamless Payment Mode
WooCommerce plugin offers a seamless payment option. To activate this on your checkout page, simply go to the Telr payment settings in your WooCommerce dashboard and choose "Seamless Payment Mode."
Verified by Visa and MasterCard SecureCode
After the consumer enters their card details, the payment gateway will check to see if that card is enrolled as part of the Verified by Visa or MasterCard SecureCode authentication systems (known as 3D-Secure).
If the card is part of one of these authentication systems, then an additional page is displayed which requires the relevant authentication details to be entered. This is usually in the form of a password that has been assigned by the consumer or via a one-time code sent to the customers mobile.
The actual data entry section is presented directly by the card issuer and cannot be customised. It is generally displayed on a white background. Where possible the 3D-Secure authentication form is displayed over the payment page, allowing the customer to see that it is clearly part of the payment process.
Live Transactions
Before processing live transactions, ensure that the IP details of your server are entered into the Hosted Payment Page configuration in the Telr Merchant Administration System.